Sleeping Bag Ventilation: Heat Transfer Physics
By Sofia Petrovic • 2nd May
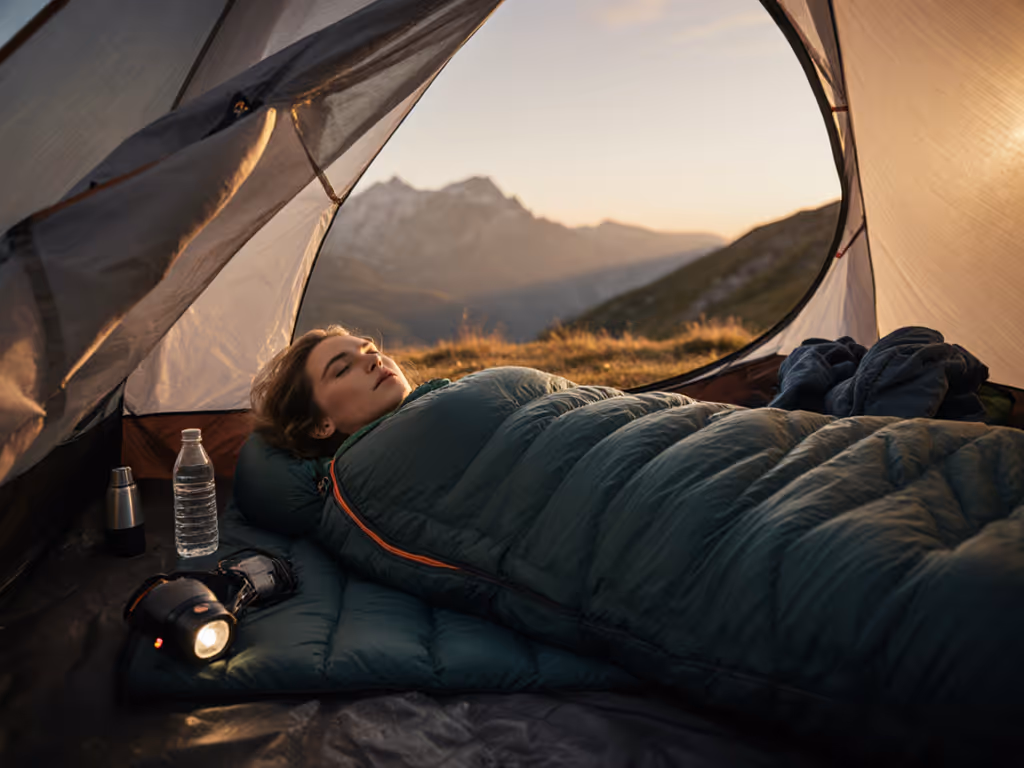
Your sleeping bag's rating tells you the minimum temperature where you'll survive the night, but it doesn't tell you whether you'll sleep well, stay dry, or wake up more exhausted than when you lay down. The difference between a fitful, clammy night and predictable, warm sleep lies in understanding how heat moves through your bag and how strategic ventilation and construction design either trap or manage that moisture and air.
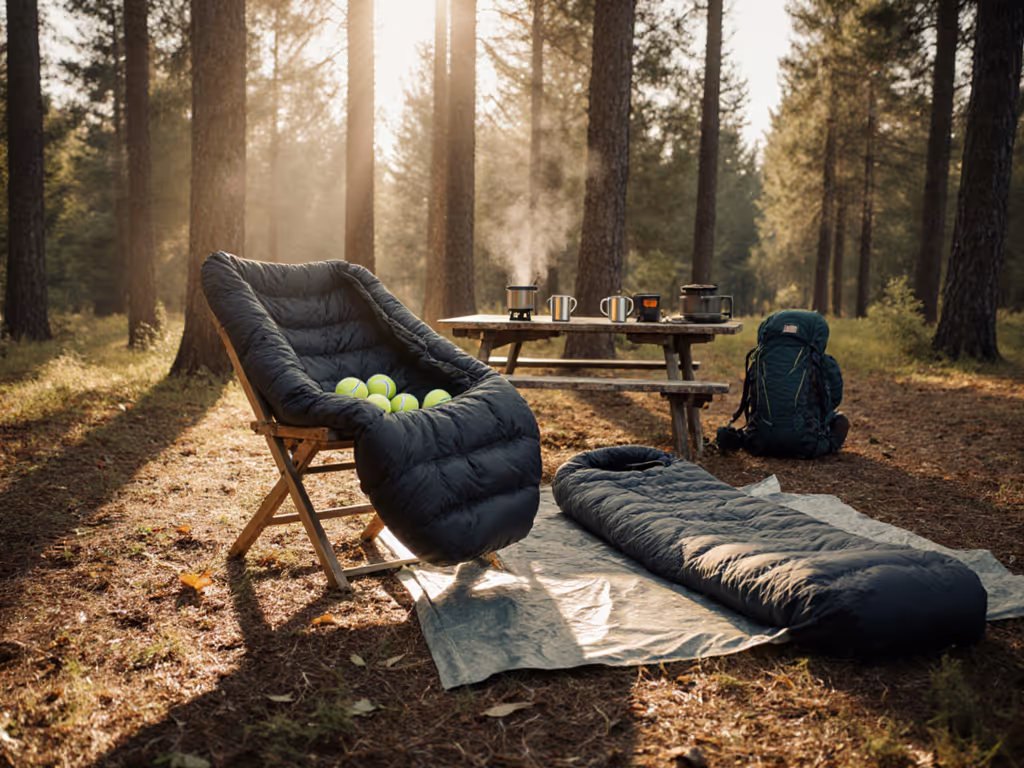
Sleeping bag ventilation isn't about leaving zippers open on cold nights. It is about how the bag's design moves heat, moisture, and air to keep you from cooking at midnight and freezing by 4 AM, which was the exact problem I faced on my first winter hut trip, when I stuffed myself into an oversized down bag like an overpacked suitcase, then peeled it off in a sweat-soaked panic before the cold from the ground cut straight through a thin pad underneath. That night taught me that every trip starts with the same five questions about shelter, wind, ground, calories, and margins. Answer these five and the rest clicks into place, including how much venting your system actually needs.
How Heat Moves Through and Out of Your Sleeping Bag
Your body loses heat in four ways: conduction (direct contact with cold surfaces), convection (warm air rising and escaping), radiation (infrared loss to the cold night sky), and evaporation (moisture turning to vapor and carrying warmth away). A sleeping bag's job is to slow all four. Its insulation works by trapping pockets of dead air space, a quality called loft, which resists heat flow. The more consistent and well organized that loft, the more efficiently the bag performs.
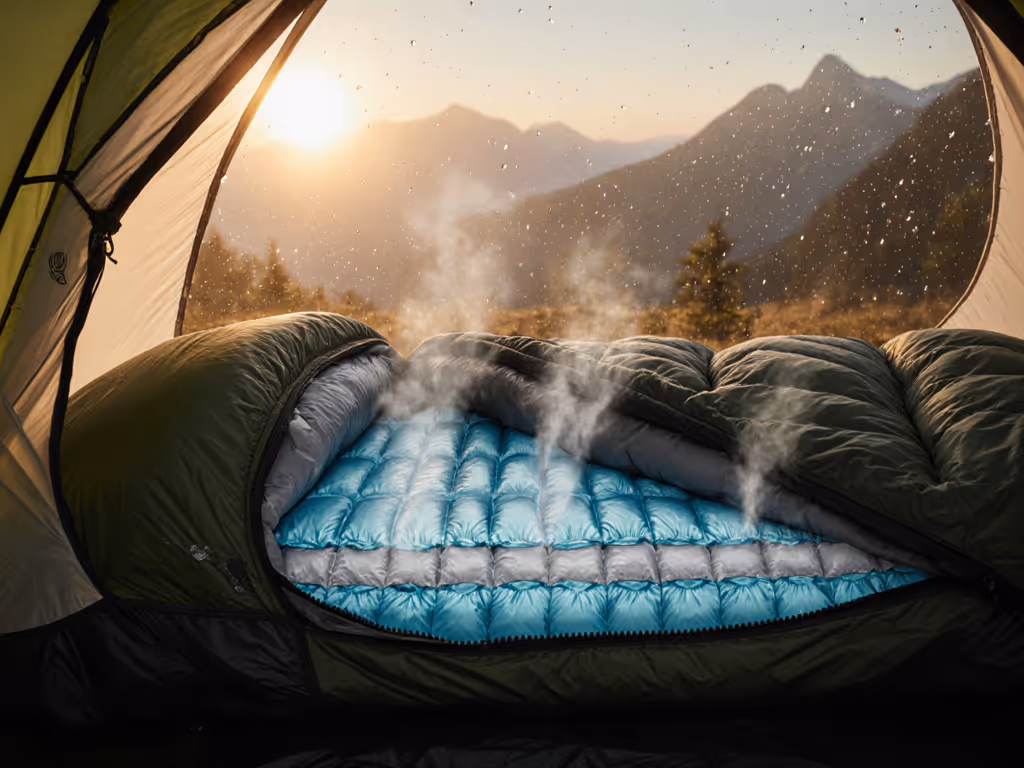
However, insulation alone isn't enough. If moisture from your breath and skin condenses inside the bag's insulation, it collapses those air pockets and destroys their insulating value. This is why synthetic insulation, which continues to insulate even when damp, is preferred by campers in humid or coastal regions, while treated down insulation (designed to shed moisture faster than untreated down) remains lightweight and durable for cold, dry alpine conditions. For a deeper breakdown of moisture performance, see our down vs synthetic sleeping bags test. The choice depends on your climate preset, not just the temperature rating.
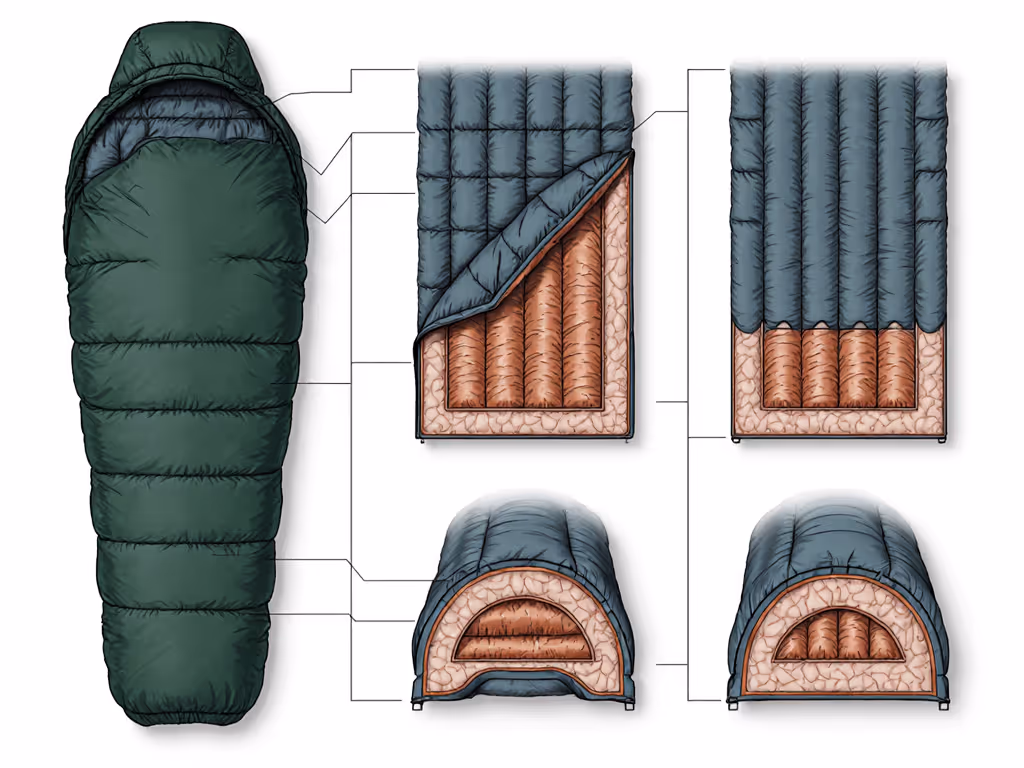
Construction Methods: Baffles and Quilting Keep Heat Where It Belongs
A sleeping bag's physical design directly controls heat loss by managing how insulation sits relative to your body and by preventing thermal bridging (where stitching or seams create cold spots).
Baffles (internal fabric dividers) keep insulation from shifting, clumping, and creating cold spots along zippers and seams. A shoulder baffle, for instance, allows you to cinch the bag around your shoulders without fully closing the hood, letting you vent excess heat from your upper body while retaining neck and torso warmth. The zipper line itself is always a point of heat loss, so high-quality bags include a full-length draft tube (a down-filled or synthetic-insulated strip running the length of the zip) to block convection along that thermal weak point.
Different quilting methods produce different insulation behavior:
- Vertical Thermal Channels (VTC): Pioneered by modern bag makers, this construction lets insulation rest closer to your body, improving loft and comfort and fit.
- Shingled method: Overlapping angled insulation shingles (like roof shingles) eliminate gaps and cold spots.
- Compartmented construction: Divides the bag into discrete chambers so down doesn't migrate to the foot, which would leave your torso cold.
The shell and lining fabrics matter, too. Outer shells are durable and often water resistant or breathable, while linings are soft and sometimes moisture wicking. Together, they form a semi-permeable boundary that lets some moisture vapor escape during sleep without allowing wind or liquid water to penetrate.
Ventilation Strategy: When and How to Use It
Sleeping bag ventilation, properly understood, means managing how much venting you need based on your body's heat production, your shelter type, and the night's conditions. This is where the if/then decision path becomes critical:
- If you sleep hot and the night is mild (say, 15°F above the forecast low) then you can partially unzip the foot box or shoulder baffles to let excess heat escape without losing core warmth.
- If you're in a single-wall shelter or an open bivy in windy conditions then even "venting" means only cracking the zipper slightly, since convection will quickly steal heat through any gap.
- If you notice clammy air inside the bag by mid-sleep then the shelter itself may lack ventilation, and you should open a vent or door (not the bag) to reduce interior humidity.
The key insight: plan the night, not just the number on the tag. Your bag's temperature rating assumes a minimum sleeping pad beneath you (often an R-value of 2 or 3). If your pad is thinner or you're on frozen ground, conduction through the bottom of the bag dominates the heat loss, and venting from the top will not help. Similarly, if your shelter is drafty or single walled, wind convection loss will override any insulation rating, and the bag needs to be closed tight regardless of how warm you feel.
Building Your Climate Preset and Margin of Safety
This is where checklists transform guesswork into ritual. Before every trip, answer these five questions:
- What's the forecast low, and what's my personal cold sensitivity? (Do not use someone else's threshold; cold sleepers and hot sleepers are not interchangeable.) For calculating your personal adjustment to lab ratings, use our personal warmth offset guide.
- What's my shelter type? (Double-wall tent, single wall, bivy, hut, hammock... each affects convection loss.)
- What's my pad's R-value, and is it rated for this surface? (Frozen ground, snow, concrete, and bare earth all conduct heat differently.)
- How many calories will I burn during the night? (A 140-lb person moving around burns differently than a 200-lb person lying still.)
- What's my buffer? (Do not match your bag's rating to the forecast low; match it to the low minus 10-15°F for comfort and error margin.)
From these five inputs, you can build a repeatable scenario table: shelter type + wind condition + ground type + calories + margin = your actual warm sleep temperature. That table becomes your climate preset for similar trips.
For example:
- Double-wall tent, moderate wind, R 4.5 pad, normal sleeper, 20°F bag rated: actual comfort around 28°F with a 10°F buffer.
- Single wall shelter, high wind, R 3.0 pad, cold sleeper, 15°F bag rated: actual comfort around 20°F with a 15°F buffer.
These are not constants, they shift with your body, gear, and conditions, but they replace the guesswork with a plan.
Your Pre-Trip Ventilation and Heat Management Checklist
- Calculate your pad's R-value and confirm it matches your surface type.
- Confirm your bag's fill (down or synthetic) matches your region's humidity profile.
- Check that your bag's construction includes a draft tube along the zipper and a shoulder baffle.
- Test your venting strategy: partially unzip the foot box in your living room to understand the heat loss gradient.
- Plan your sleep position: side sleepers may compress insulation on narrow bags; confirm fit before a cold trip.
- Layer your sleepwear based on the margin calculation above, not the bag's temperature tag alone.
Actionable Next Step
Tonight, write down your five climate preset questions for your next trip. Then, pull up your sleeping bag's product specs and find its construction method (does it have vertical baffles or shingled insulation?), confirm its insulation type (down or synthetic or hybrid), and check for a full-length draft tube. Cross-reference those specs with your shelter type and pad R-value. If any piece is missing or mismatched (weak pad, drafty shelter, untreated down in humid conditions) that is your starting point for an upgrade plan.
No shame in overpacking or upgrading margins while you're building the system; the goal is a repeatable ritual that delivers predictable sleep on the first try, every time.
Related Articles