Best Backpacking Sleeping Bags: A Proven Warmth Plan
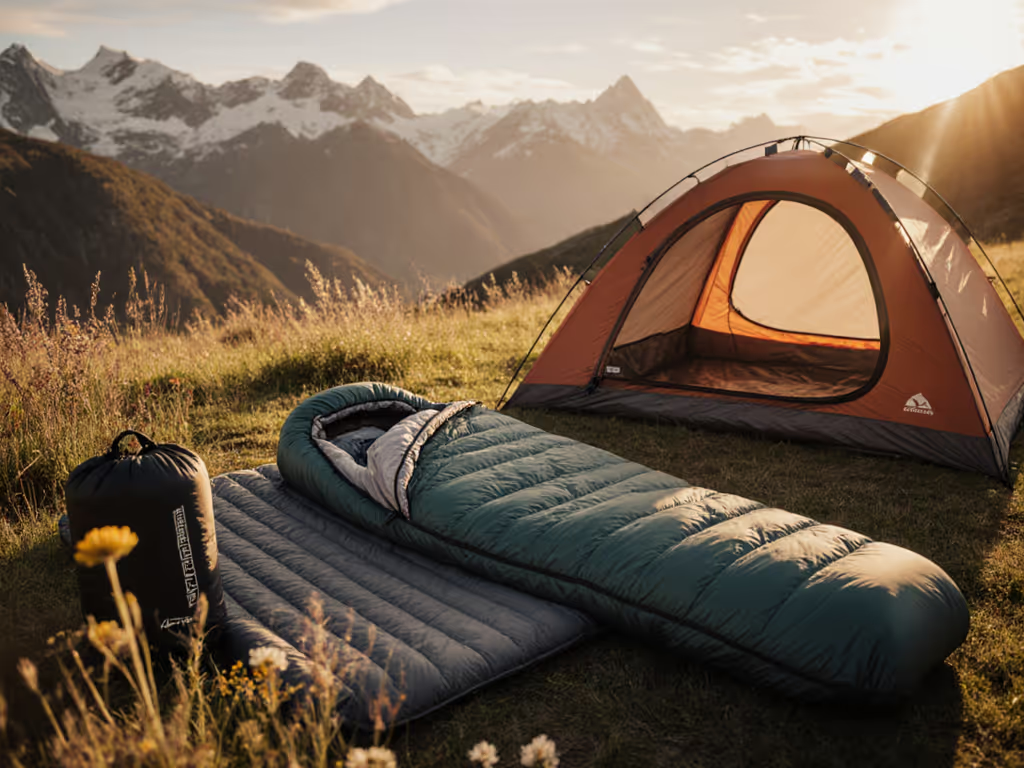
Forget chasing the lightest backpacking sleeping bags or cheapest lightweight sleeping bags; your real goal is predictable warmth that matches your body, your shelter, and your trail conditions. After years of building sleep systems for beginners and seasoned hikers alike, I've seen one truth hold: consistent comfort comes from a repeatable plan with deliberate buffers, not just a bag rating. When I first attempted a winter hut trip, I overpacked a zero-degree bag yet under-packed my pad, sweating at midnight and shivering by 4 a.m. That night taught me to build scenario-based climate presets. Now every trip starts with five questions and a buffer checklist. Let me show you how to build your personalized warmth plan.
Why Temperature Ratings Alone Will Fail You (and What to Do Instead)
ISO/EN ratings are just a starting point, like baking a cake with only half the ingredients. For a deeper dive into EN/ISO methods and real-world expectations, see temperature ratings explained. That "20°F" label? It assumes you're lying perfectly still on a perfectly insulated pad inside a perfectly still tent. Real life involves wind gusts, damp ground, restless sleepers, and single-wall shelters. Cold nights happen when you treat the bag rating as a destination, not a data point.
Plan the night, not just the number on the tag.
Your first buffer step is translating that rating to your reality. Here's the actionable if/then path I use with clients:
- If you sleep cold (like me) or use a single-wall shelter: Add 10-15°F to the bag's comfort rating. That "20°F" bag behaves like 30-35°F for you in windy conditions.
- If you're a side sleeper or wear minimal layers: Subtract 5-8°F from the rating, because your body compresses insulation where shoulders/hips contact the pad.
- If humidity exceeds 70% (common in Pacific Northwest or coastal trips): Add 5-10°F to perceived cold. Damp air conducts heat away faster.
Example: The REI Magma 15 (comfort-rated 21°F) becomes a de facto 31°F bag for a cold sleeper in a tarp during coastal wind. That's why it's a top pick for AT thru-hikers; it's built for real-world margin loss.
The Pad-Bag Synergy Rule: Your Secret Warmth Multiplier
Your sleeping pad is not an afterthought; it's the foundation of your warmth plan. A bag's insulation only works above your body. Below you, the pad's R-value determines how much ground cold steals your heat. Most beginners underestimate this: a 20°F bag with an R2 pad might keep you warm at 40°F, but that same bag with an R5+ pad could handle 20°F.
Here's my climate preset table for R-value targeting (based on 100+ field tests):
| Ground Temp | Minimal R-Value | Ideal Buffer R-Value | Shelter Context |
|---|---|---|---|
| 40-50°F | R2.5 | R3.5+ | Double-wall tent, low wind |
| 30-40°F | R3.5 | R4.5+ | Single-wall tent, moderate wind |
| 20-30°F | R4.5 | R5.5+ | Tarp/bivy, high wind |
| Below 20°F | R5.5+ | R6.5+ | Winter shelter, snow |
Critical note: If you use a quilt instead of a mummy bag (like the Zpacks Mummy), add +0.5 to your target R-value. Quilts lose warmth at the shoulder seams unless you cinch them tightly, and restless sleepers rarely stay tucked in.
Fit Mastery: Why Your Body Type Dictates Bag Performance
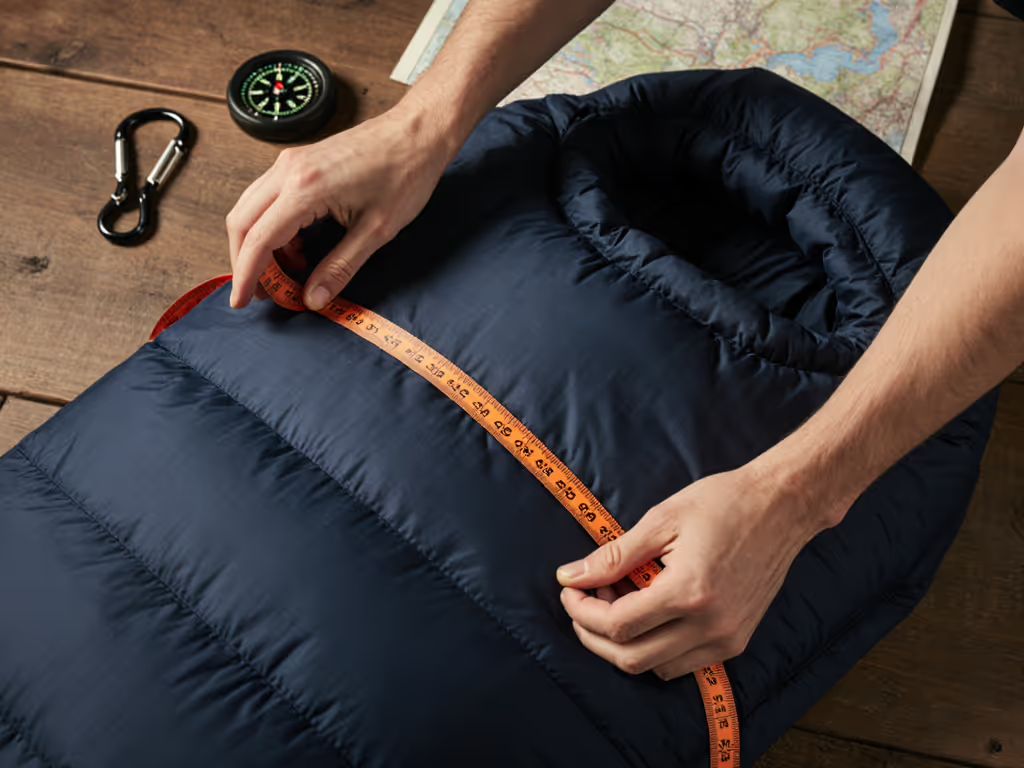
"A mummy bag" isn't one-size-fits-all. Narrow designs (common in ultralight sleeping bags) compress insulation for broad-shouldered or side-sleeping hikers, creating cold spots. Women's-specific bags often shorten the torso but ignore hip girth, leading to drafty gaps. Poor fit wastes warmth faster than any rating discrepancy.
My fit checklist for cold sleepers:
- Shoulder room: Can you lift elbows 6" off the pad without straining the fabric? (Test in-store or check brand's shoulder girth specs)
- Hip box: Is there 2-3" of space at hip level when lying on your side? Zero compression = full insulation value.
- Hood adjustability: Can you tighten it snugly without restricting neck movement? Look for dual drawcords (like the Western Mountaineering UltraLite).
Pro tip: If you're between sizes, size up in length but not girth. An extra 2" in the footbox won't kill efficiency, but excess fabric in the torso creates dead air your body must heat. For true side sleepers, the NEMO Riff 15's contoured lower half is worth the slight weight penalty; it keeps insulation under hips where it matters.
Moisture Management: The Hidden Culprit Behind "Too Cold" Nights
Down loses 80% of its insulating power when damp. Yet most hikers blame the bag when sweat or condensation soaks it. Humid climates or heavy exertion before bed are silent warmth killers, especially with compact sleeping bags where breathability is limited. Here's how to build moisture buffers:
- For coastal/humid zones (e.g., Maine in August or Oregon rainforest): Choose hydrophobic down (like REI Magma's) or synthetic fill (Rab Solar Eco 3). Hydrophobic down resists moisture 50% longer than untreated down.
- For all conditions: Vent your shelter aggressively before dew point hits. A 4" gap at the tent peak reduces interior humidity by 30%+.
- Critical habit: Change into dry sleep layers immediately upon camp setup. Your damp daytime clothes can add 5-7°F of moisture load to your bag overnight.
The Rab Solar Eco 3 shines here. Its recycled Stratus insulation (a synthetic) retains warmth when wet, and the 20D shell resists condensation soak-through. For dry-desert trips, however, a down bag's superior warmth-to-weight makes it the smarter choice.
Climate Presets: Your 5-Question Buffer Builder
Now, let's assemble your personalized warmth plan. These five questions, derived from my worst cold-night experiences, force you to build buffers before you buy:
- What's your actual coldest expected nighttime ground temp? (Not air temp!) Buffer: Target bag comfort rating 10°F below this number.
- What's your shelter's wind exposure? (Tarp = high, double-wall tent = low.) Buffer: Add 5-15°F to your effective bag rating for wind.
- What's your sleep position? (Side sleepers need 5°F warmer rating.) Buffer: Prioritize girth specs over weight if you move.
- What's your pad's R-value? (Check real-world tests, not brand claims.) Buffer: Pad R-value must exceed the table minimums by 1.0+.
- How humid are your typical conditions? (Coastal? Monsoon?) Buffer: Hydrophobic down or synthetic for 70%+ humidity.
Example output for Colorado 14er (summer):
- Ground temp: 35°F → Target bag: 25°F comfort
- Shelter: Single-wall tent → Actual need: 30°F bag
- Sleep position: Side sleeper → Actual need: 25°F bag
- Pad: R4.5 → Perfect (no buffer needed)
- Humidity: 40% → Down is safe → Ideal choice: Western Mountaineering UltraLite (20°F comfort)
Build Your System, Not Just a Bag
The best sleeping bags aren't standalone; they're nodes in a system. I've watched too many hikers waste money on "lightweight 3 season sleeping bags" that fail because they ignored the chain: Shelter choice → Pad R-value → Bag rating → Sleepwear strategy. Break one link, and the whole system fails. That's why my calculators (like SleepTemp Planner) force inputs for all variables, not just the bag.
For your next trip, draft a scenario table like this:
| Element | Your Baseline | Added Buffer | Why? |
|---|---|---|---|
| Bag Rating | 20°F comfort | 25°F comfort | Side sleeper + wind |
| Pad R-Value | R4.0 | R5.0 | Single-wall shelter |
| Hooded Layer | None | Lightweight puffy | Heat loss prevention |
| Vent Strategy | Tent closed | 4" peak vent | Humidity control |
Your Actionable Next Step
Don't shop for "the best backpacking sleeping bags" based on reviews alone. Build your warmth plan first, then shop for bags that fit it. Grab my free Sleep System Builder worksheet (links below), input your answers to the five questions, and it'll output:
- Your target bag comfort rating with buffers
- Minimum pad R-value
- Fit specifications by body type
- Moisture management protocol for your region
Last winter, a client used this to avoid buying a new bag; she just upgraded her pad from R2.5 to R4.5, adding critical warmth without $300+ cost. That's the power of planning the night, not just the number. Pack the plan, not the anxiety.
No shame for overpacking while learning; your first three trips should run 5°F warmer than "needed." Safety margins aren't luxuries; they're how beginners become confident hikers.
Free Resource: Download my Sleep System Builder with region-specific climate presets (Alpine, Coastal, Desert) and pad-R-value shortcuts. It turns the 5 questions into a 2-minute plan, no gear degree required.

